Launch Node
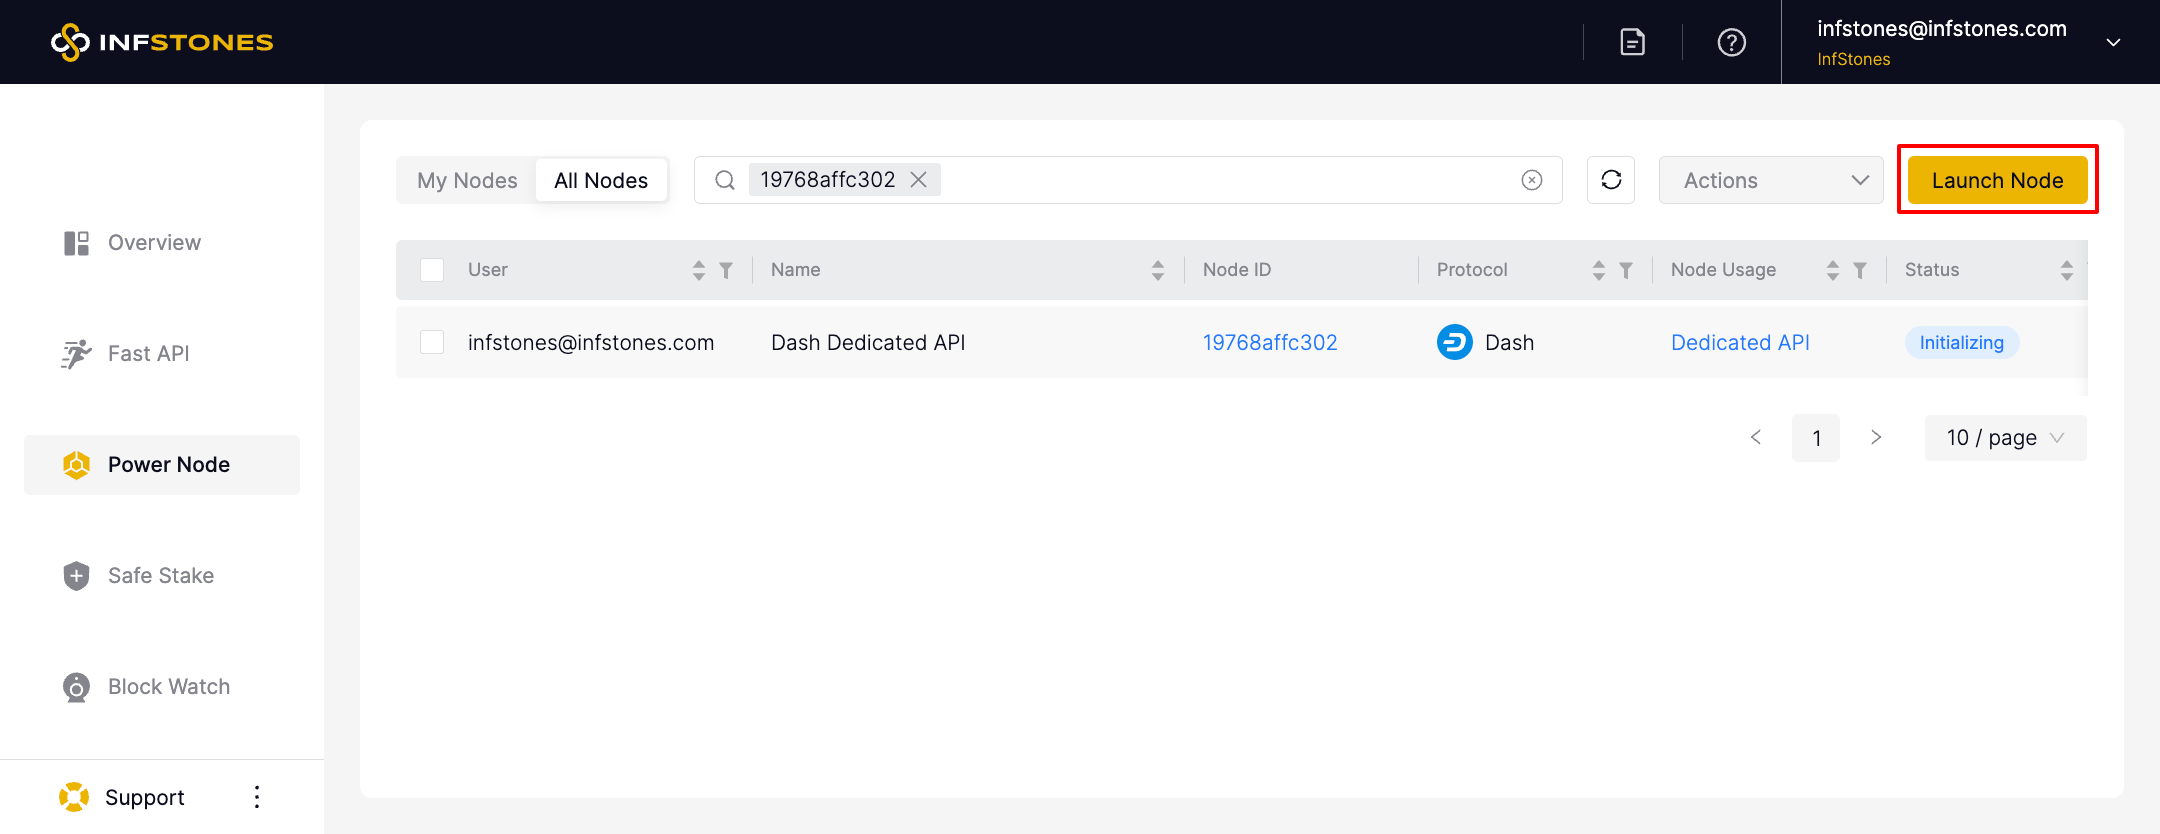
Click the Launch Node button on the Power Node page to launch a new node.
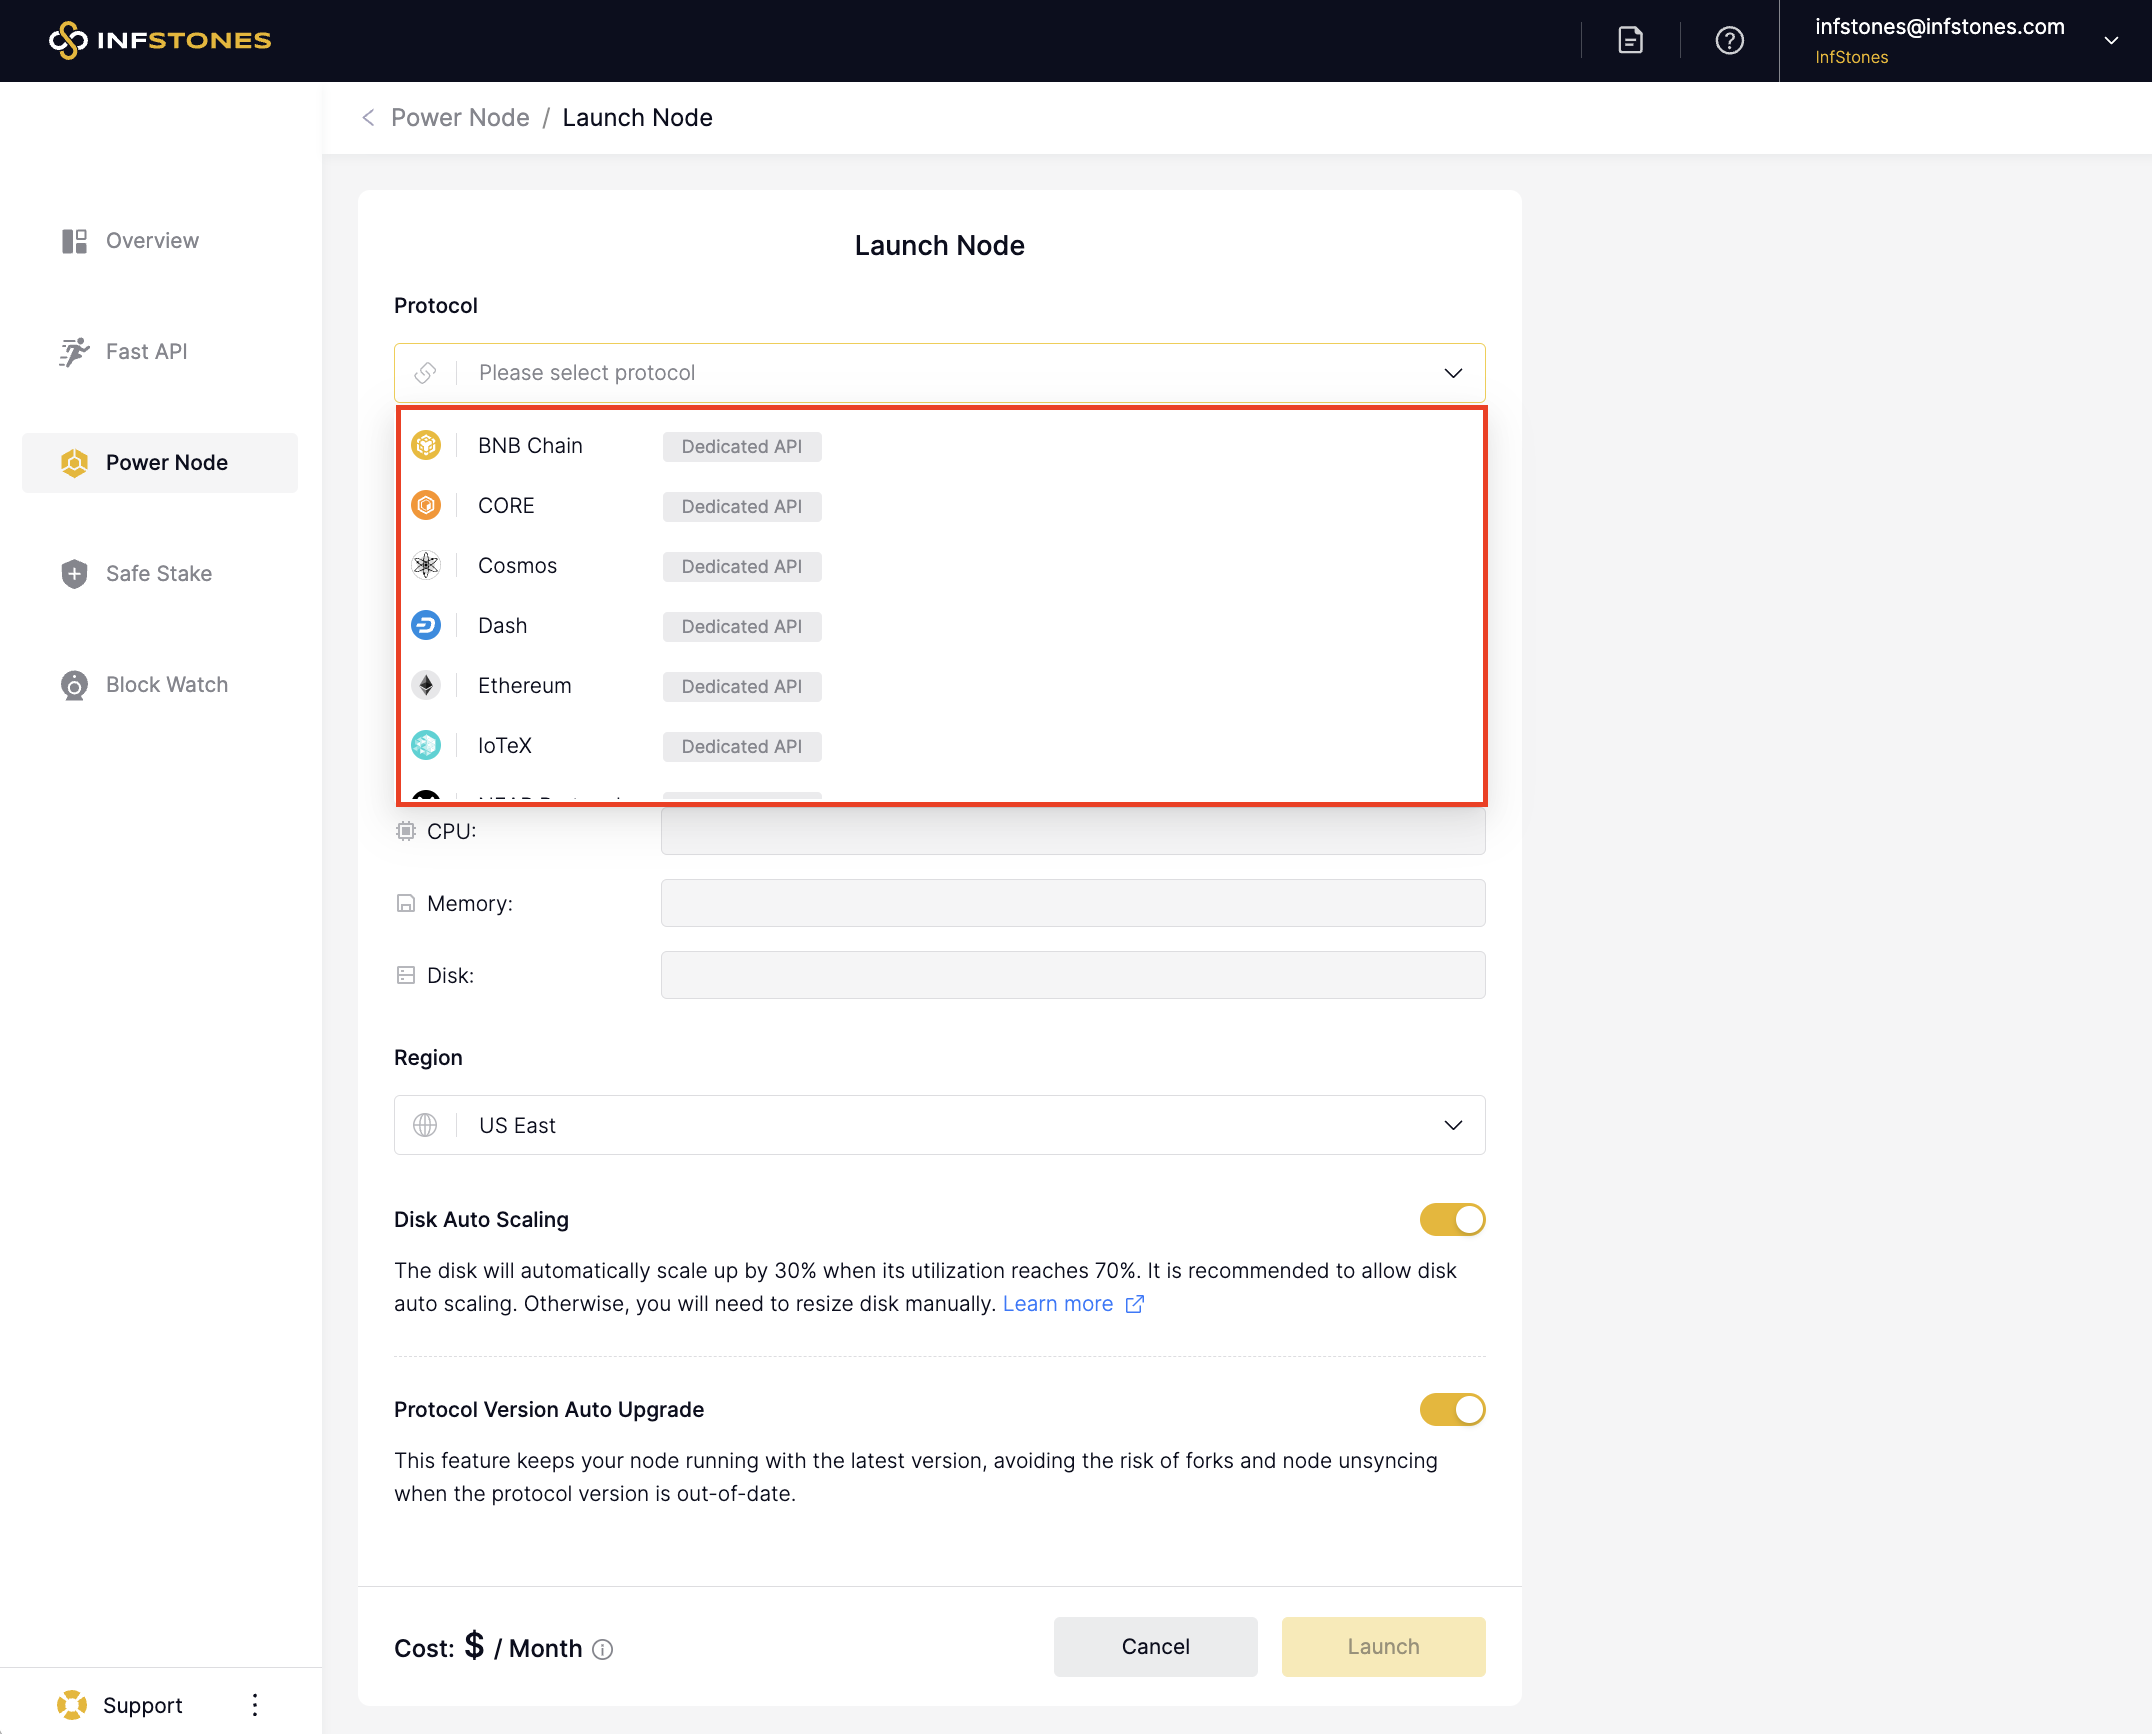
1 Node Configuration
For Protocol, you can choose any blockchain protocol of your interest in the drop-down list.
For Node Usage, you can choose Dedicated API or Validator for different purposes. Learn more at Power Node Usage.
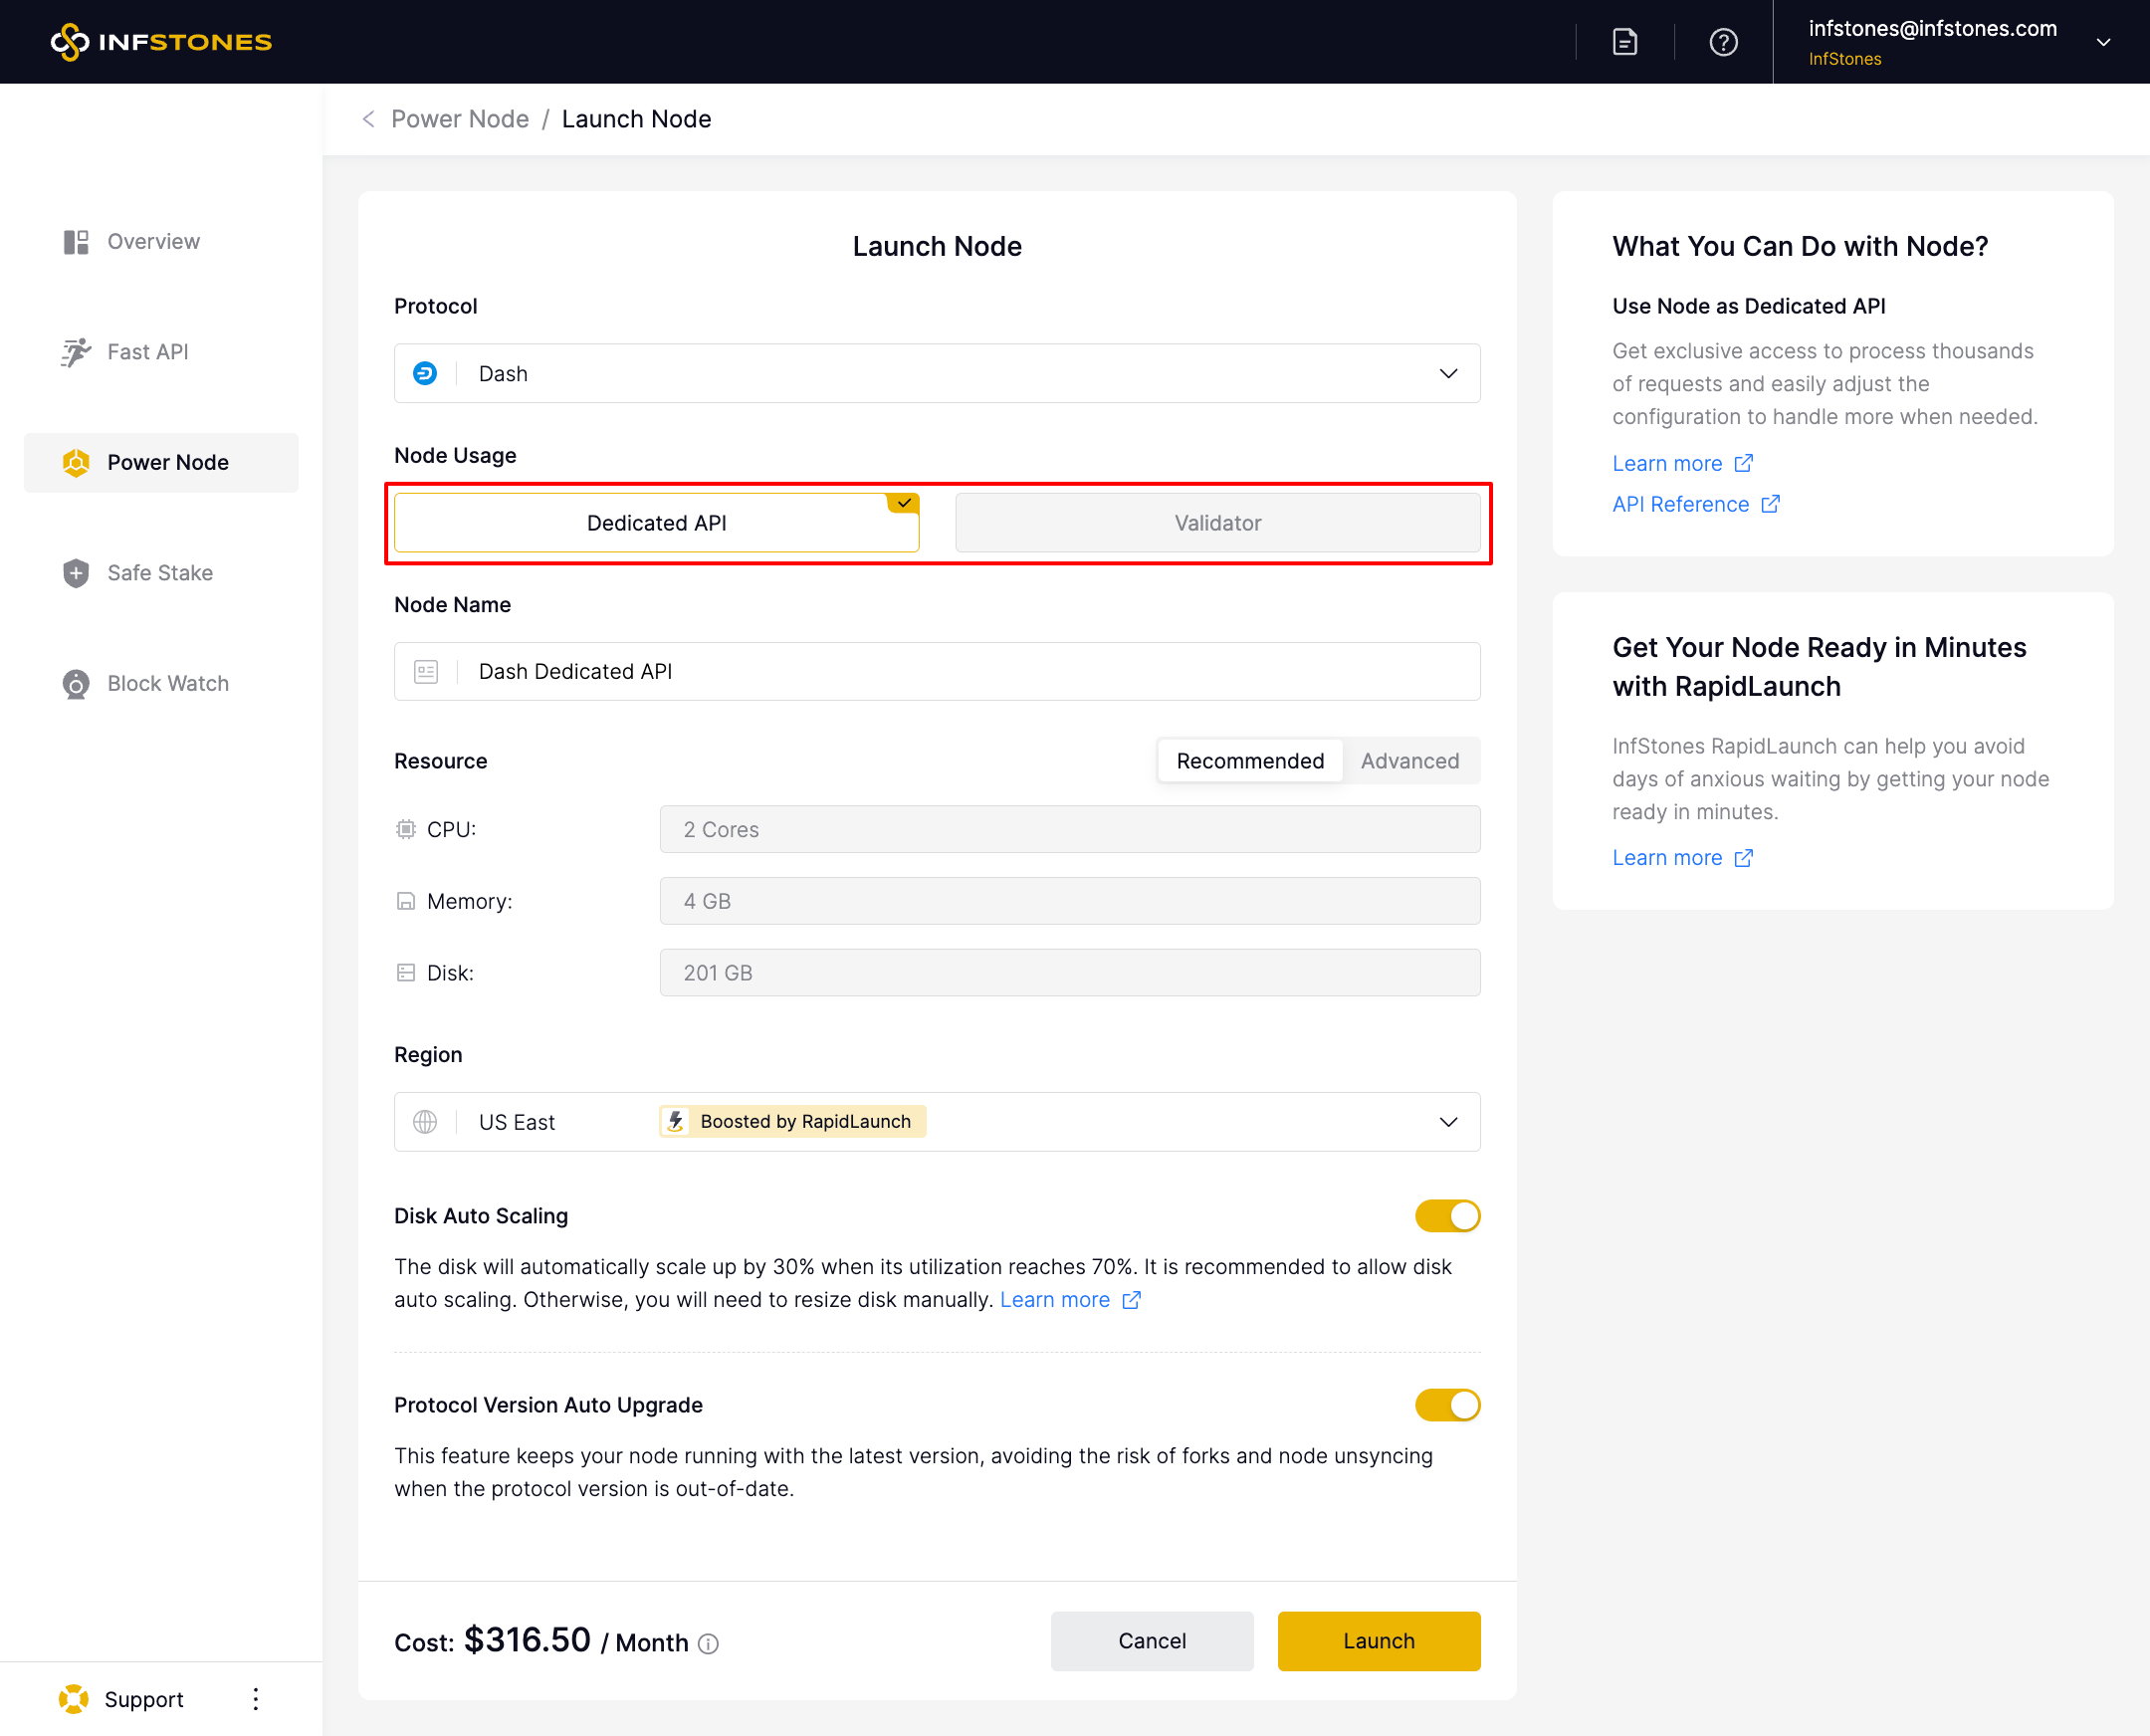
For Node Name, feel free to set any name. You can also update the name after launching the node.
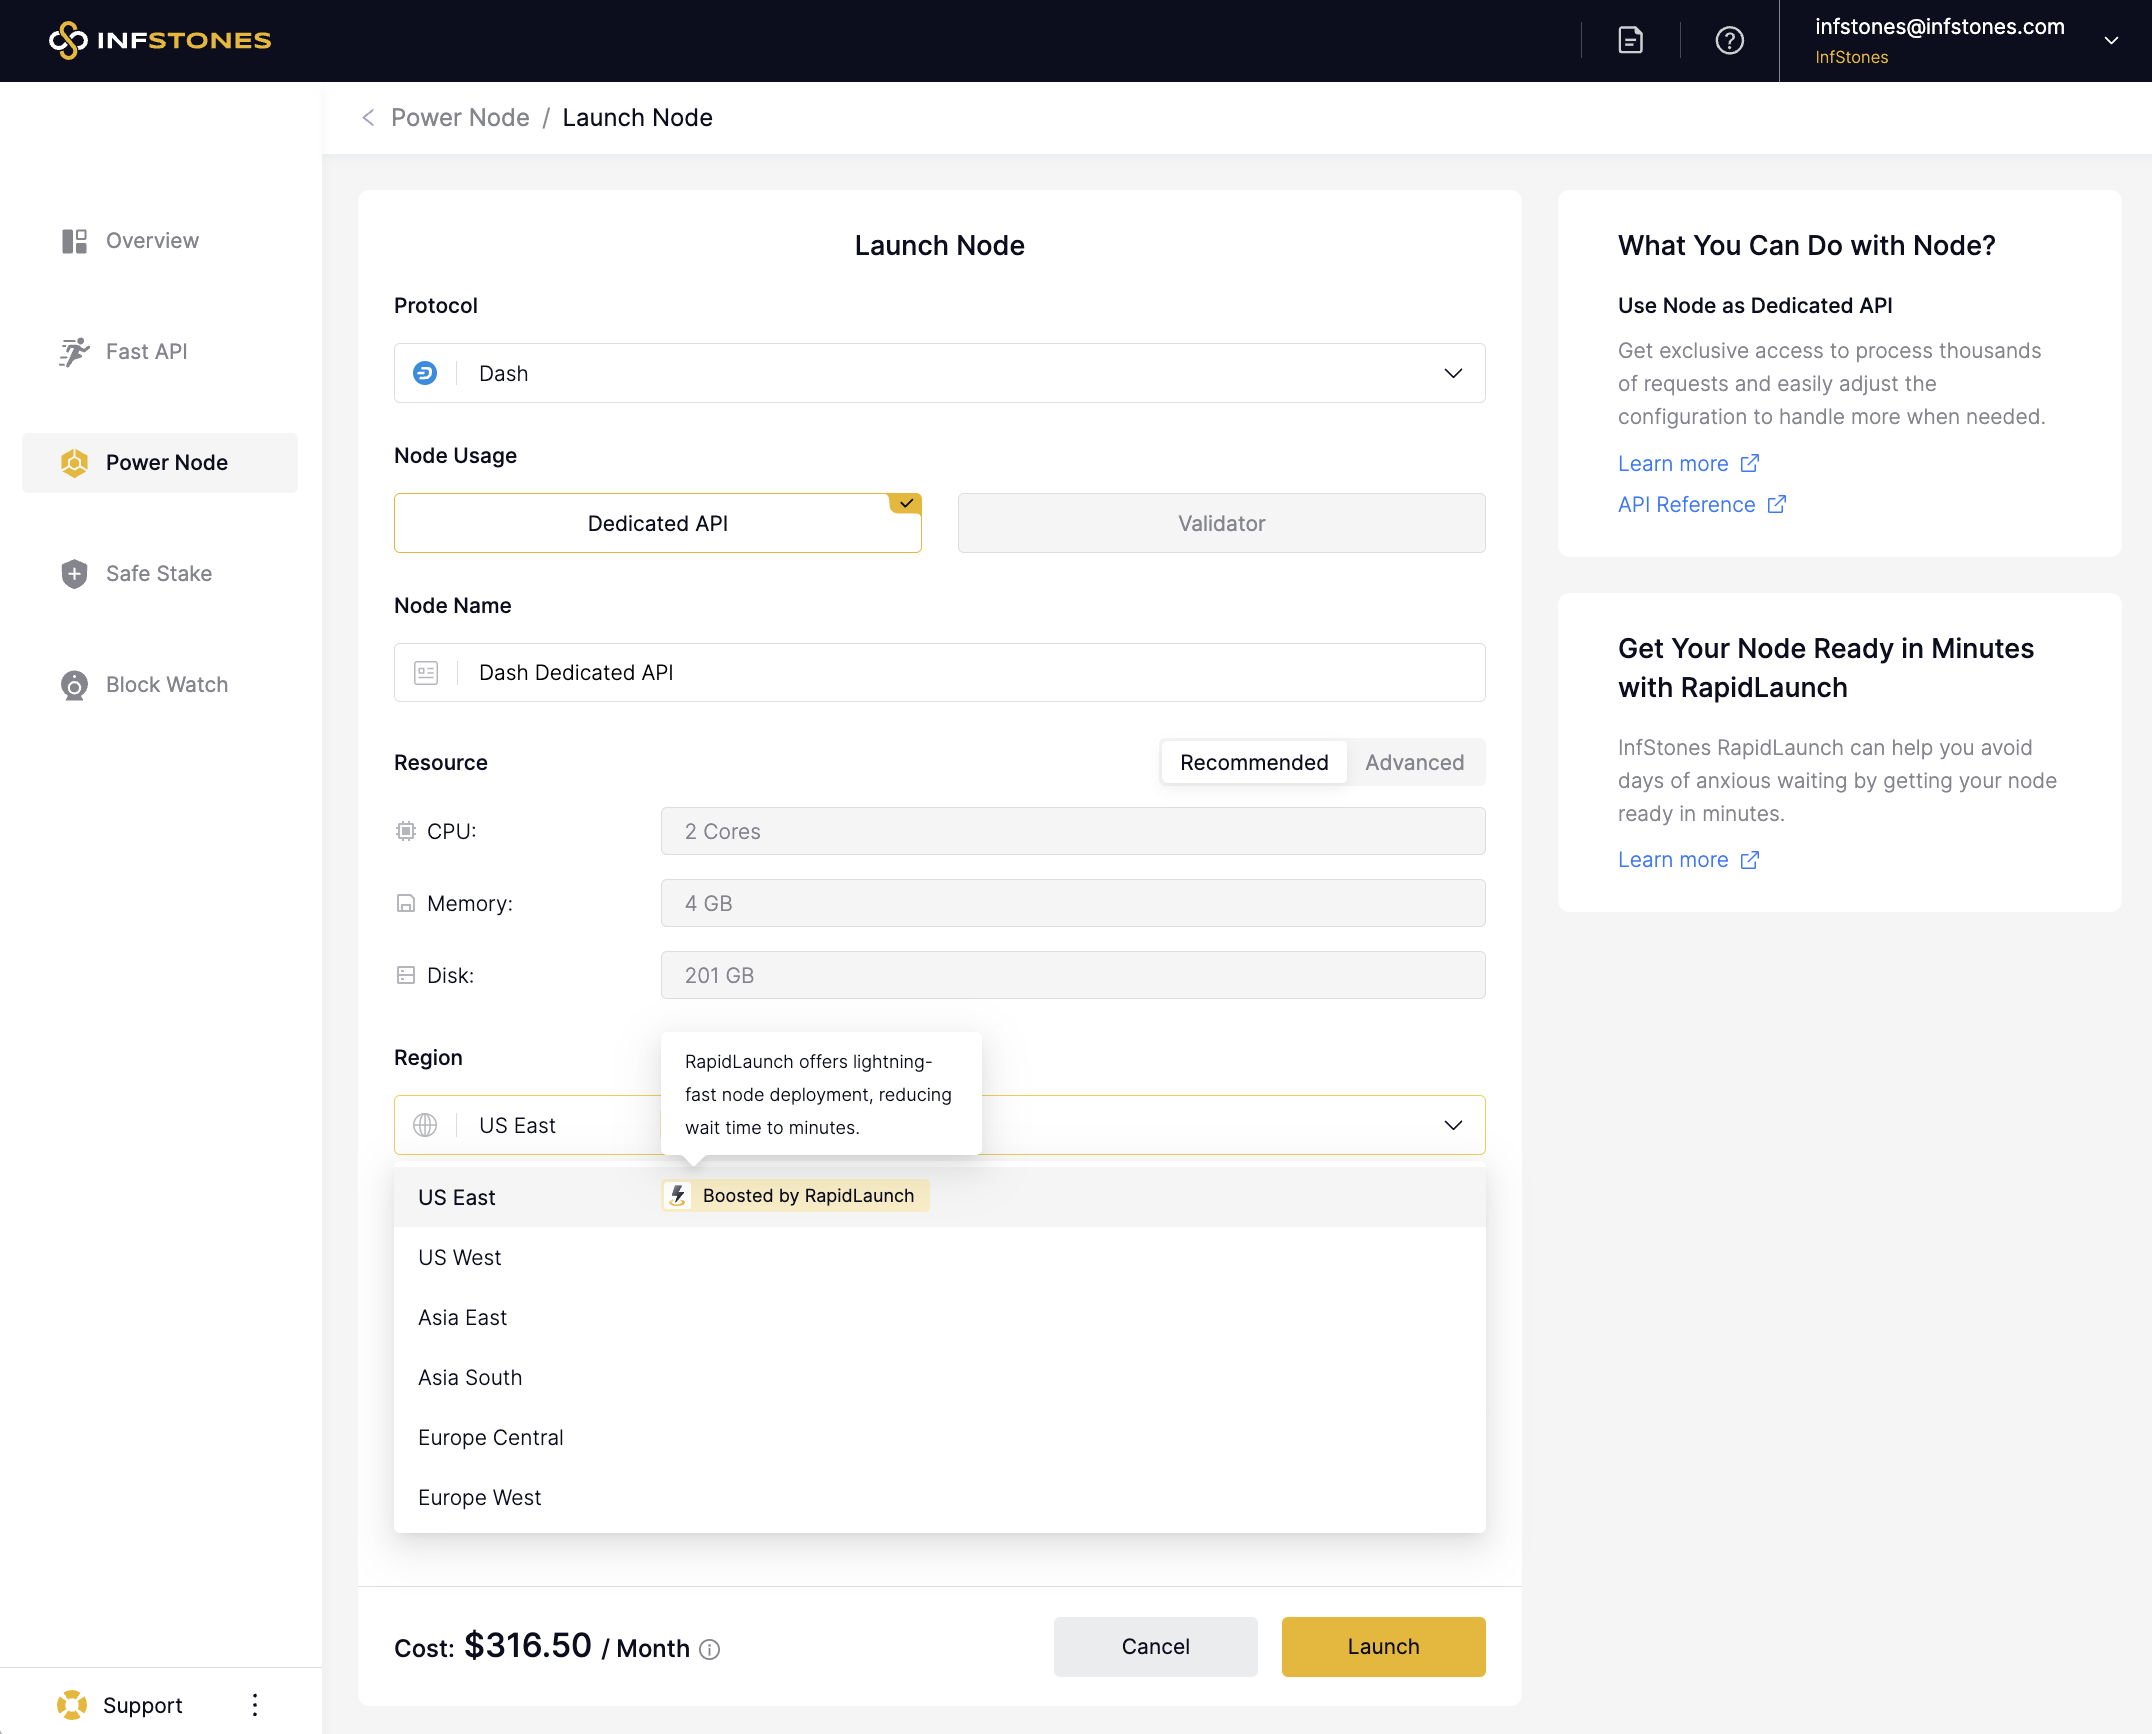
For Region, we are now supporting the regions in US East, US West, Asia East, Asia South, Europe West, and Europe Central.
RapidLaunch
RapidLaunch is a revolutionary feature that significantly accelerates the node launching process. With just a few minutes of waiting, your node will be ready to use.
For RapidLaunch needs in other regions, please contact us.
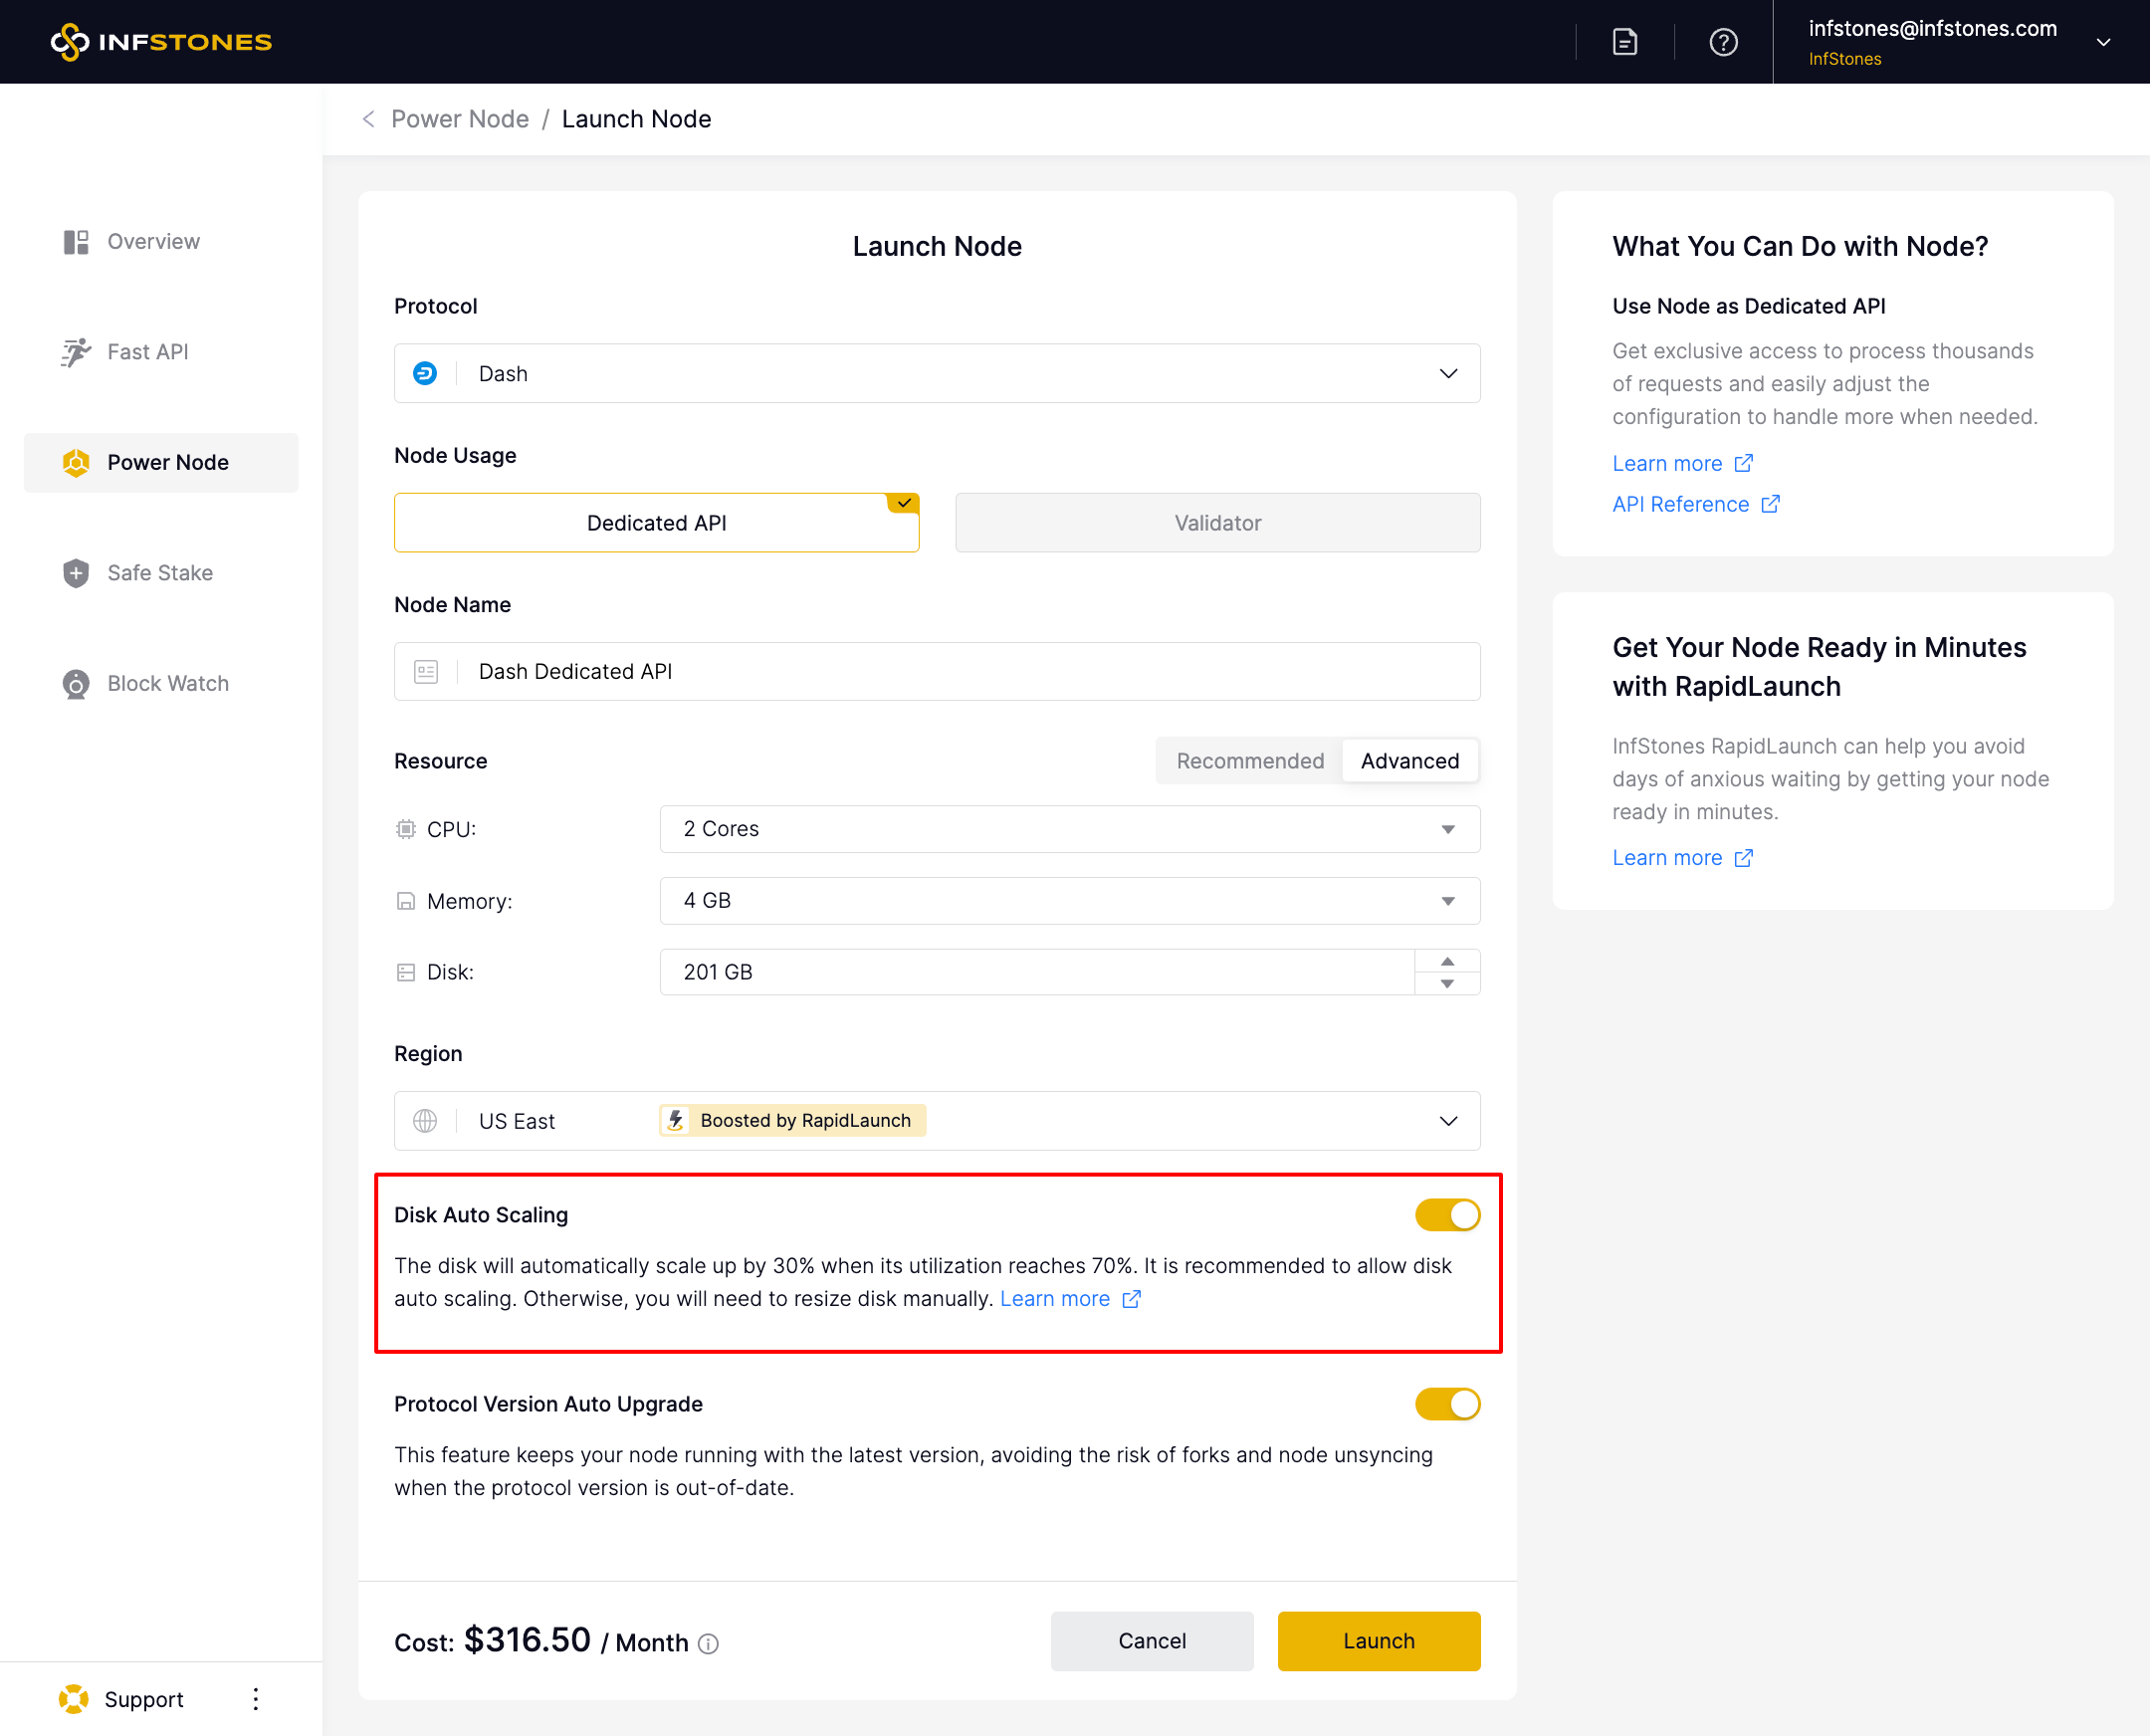
For Resource, you can either use the Recommended configuration, or Advanced configuration by choosing the CPU, Memory, and Disk according to your needs.
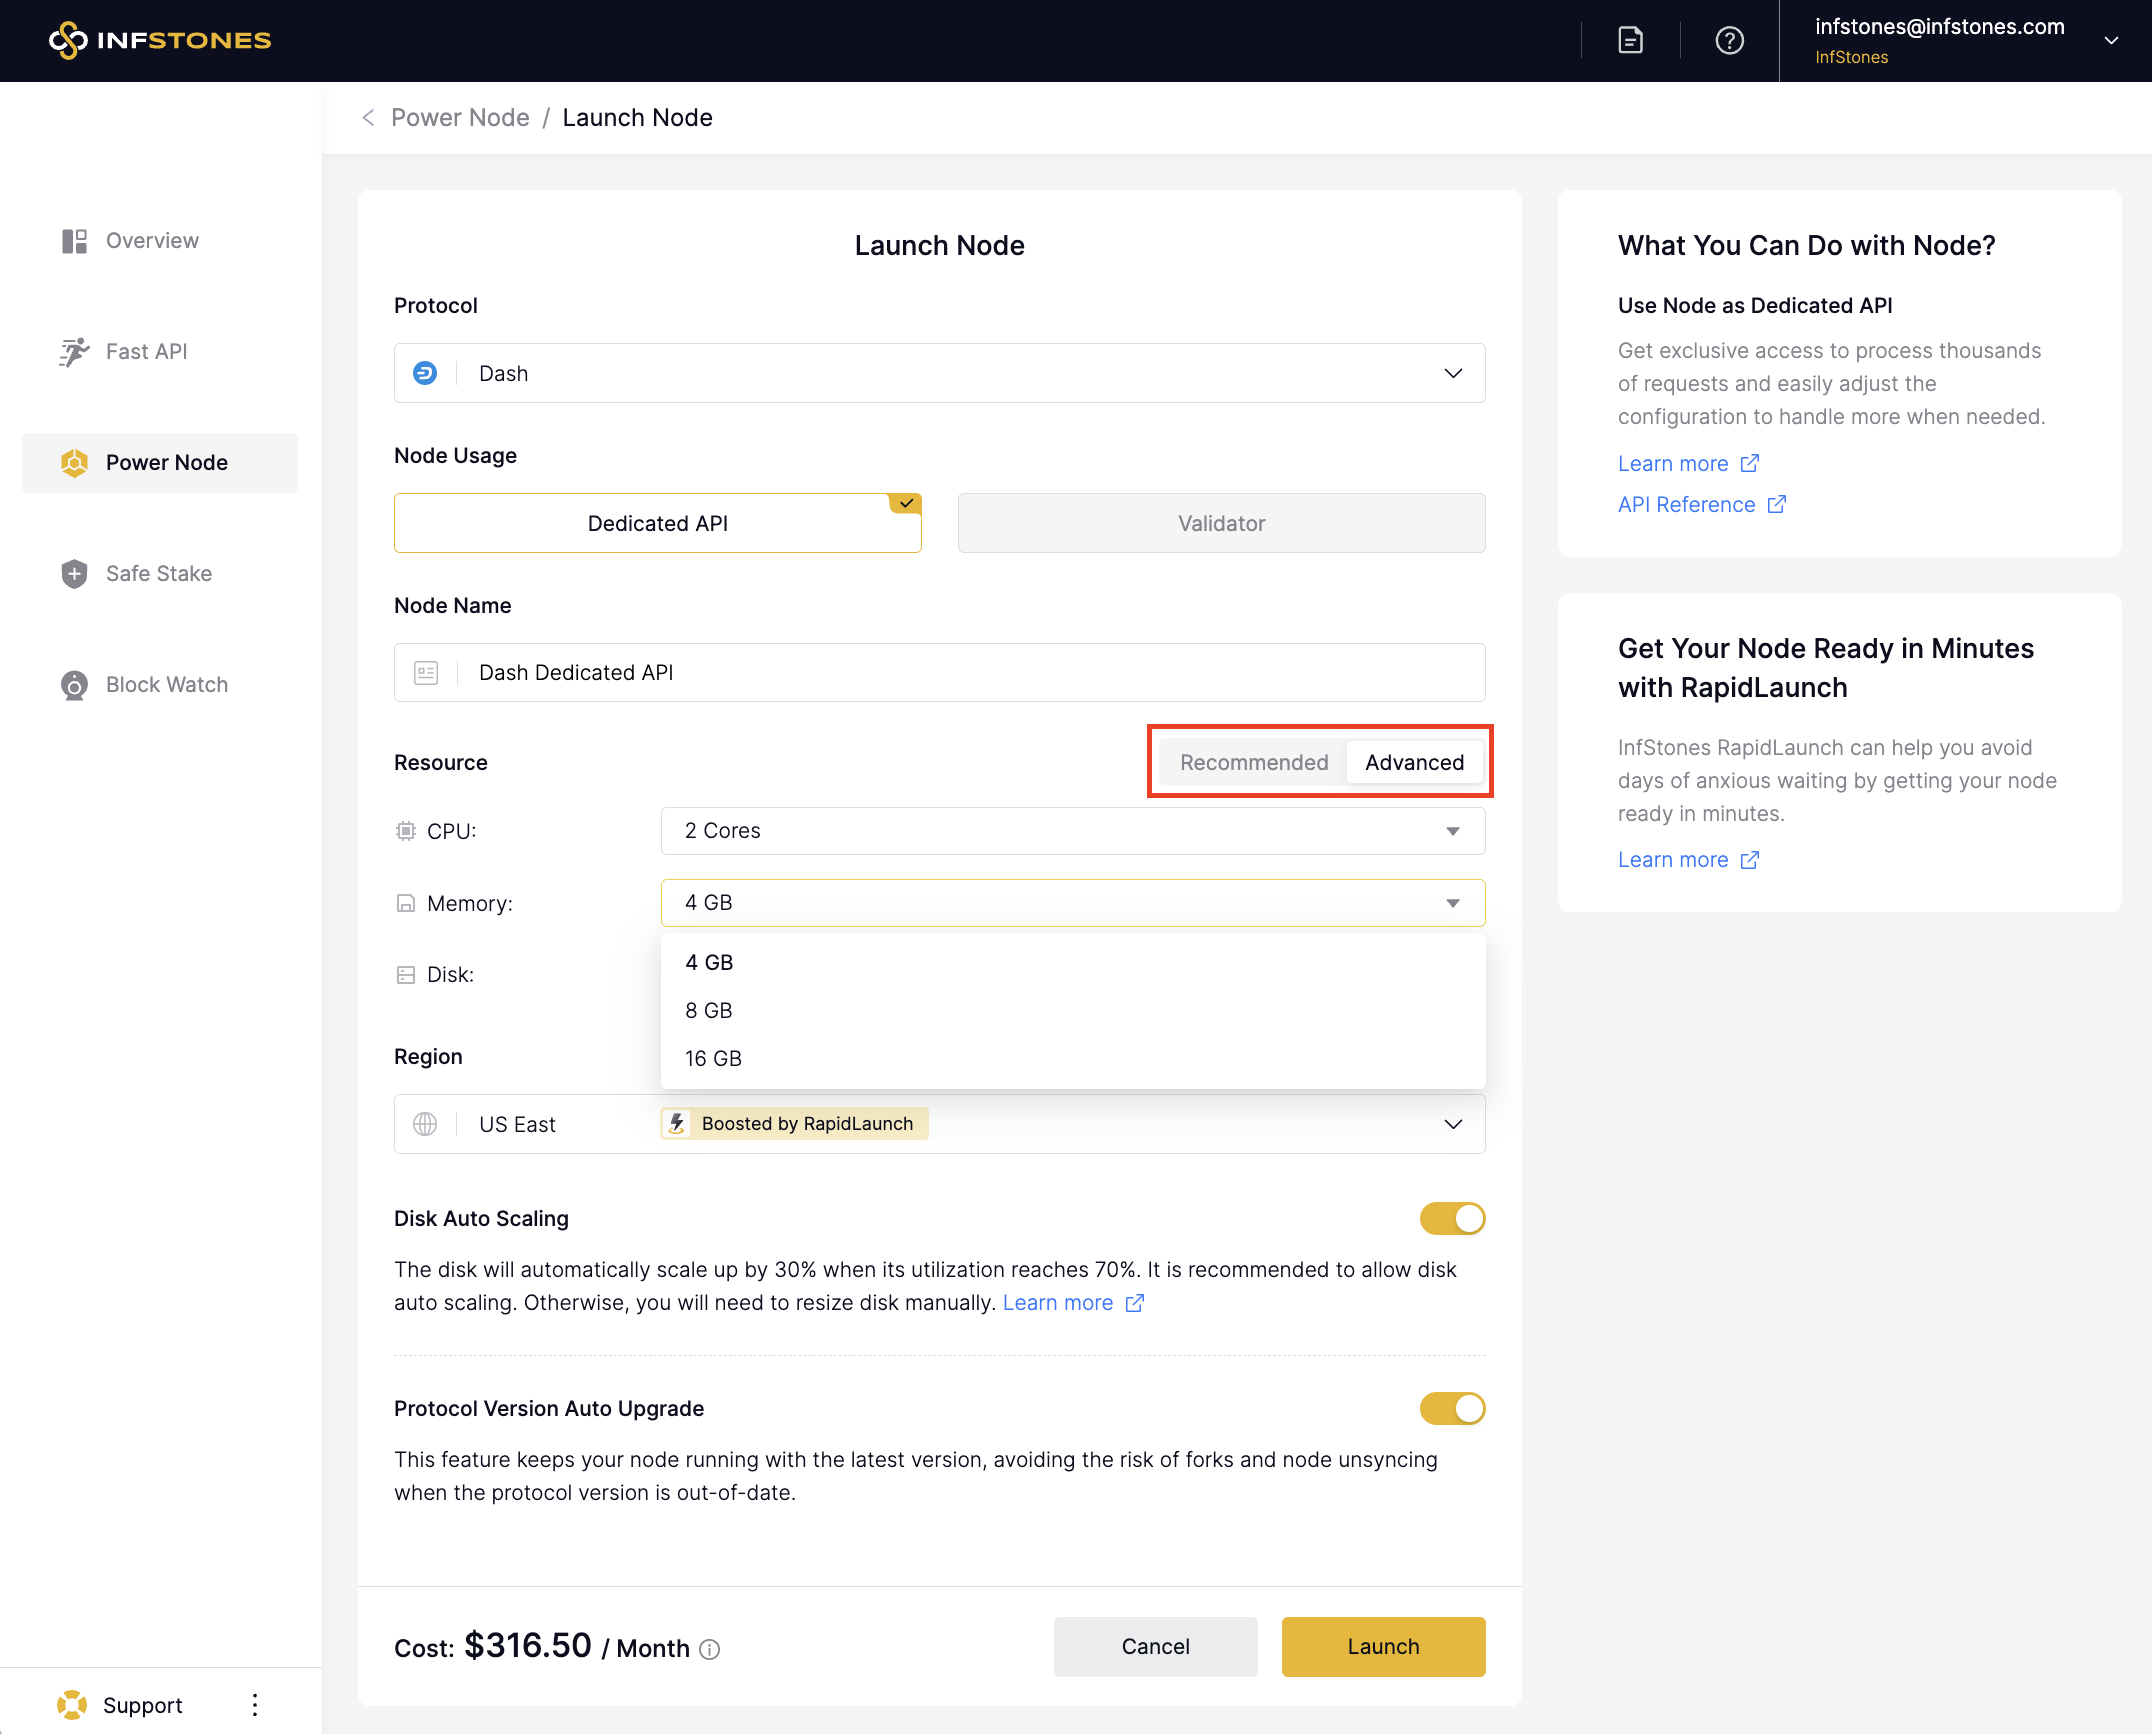
The Disk Auto Scaling feature is optional; enabling it will automatically resize your node's disk by 30% when its utilization exceeds 70%. Also, you can manually resize your node's disk and resources whenever needed. You can change this setting in the node side window's Maintenance tab at any time after launching.
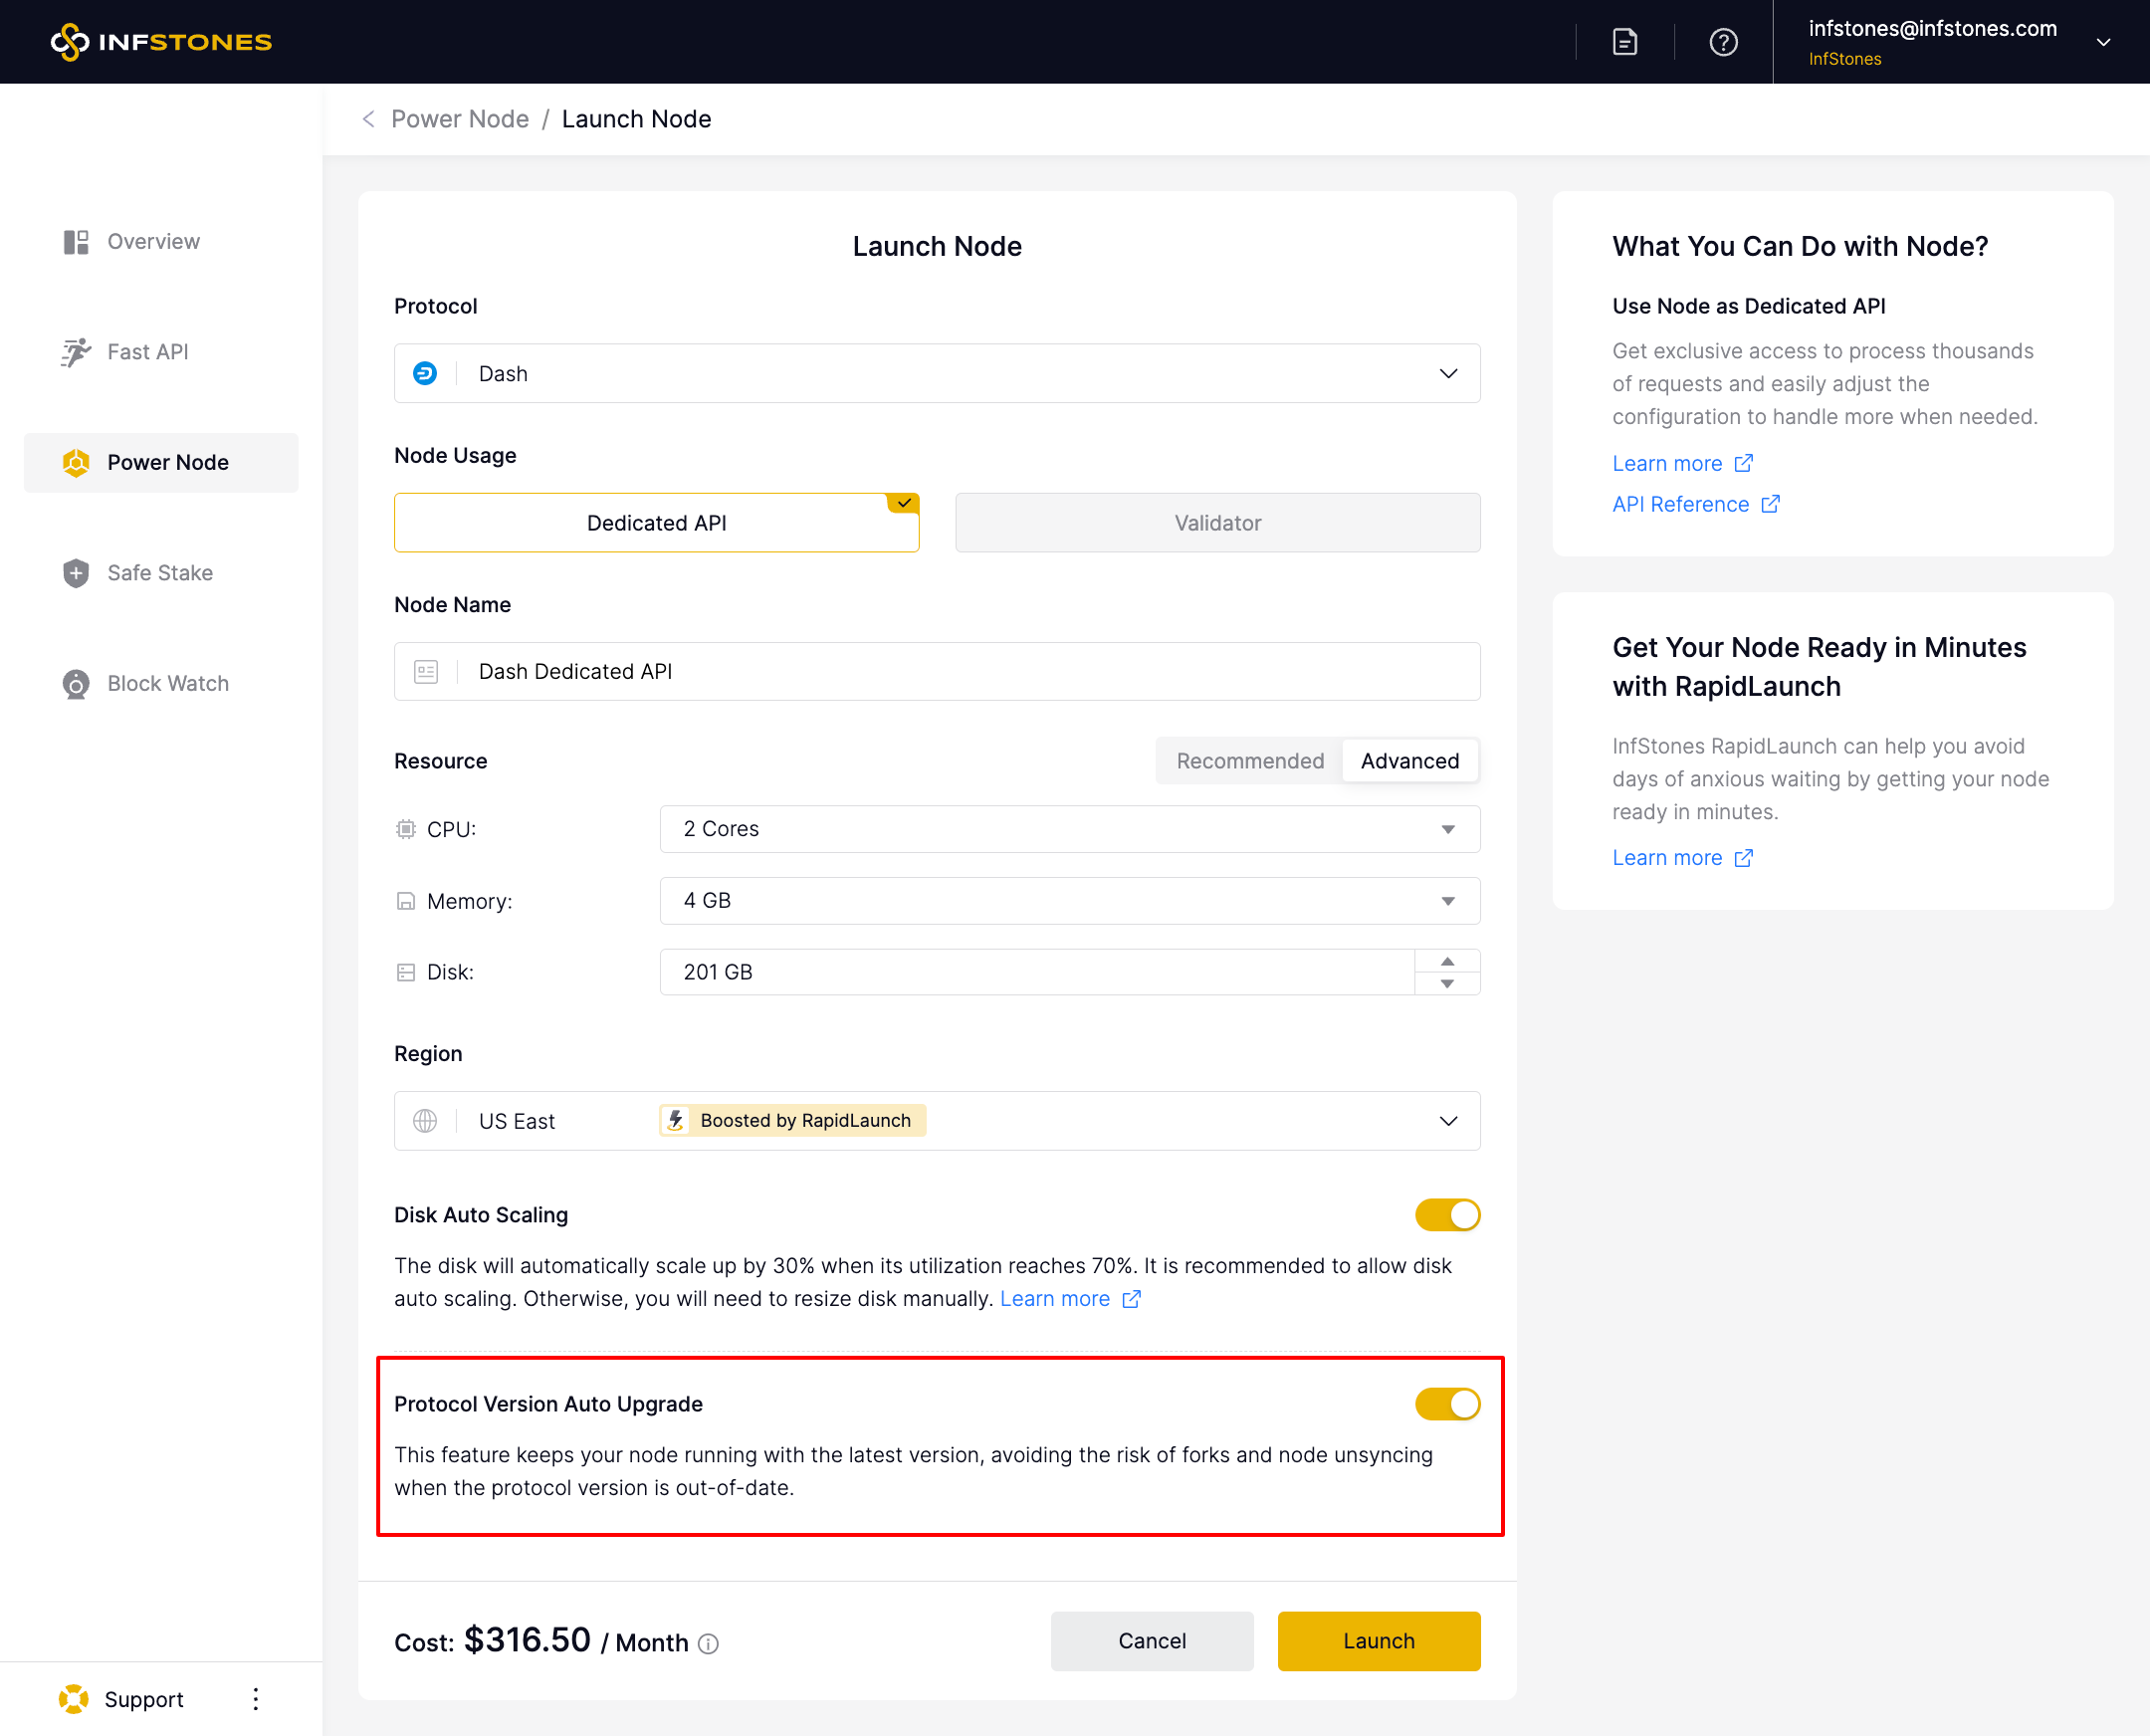
The Protocol Version Auto Upgrade feature is optional; enabling it will keep your node running with the latest version, avoiding the risk of forks and node unsyncing when the protocol version is out-of-date. Also, you can manually upgrade your node's protocol version whenever needed. You can change this setting in the node side window's Maintenance tab at any time after launching.
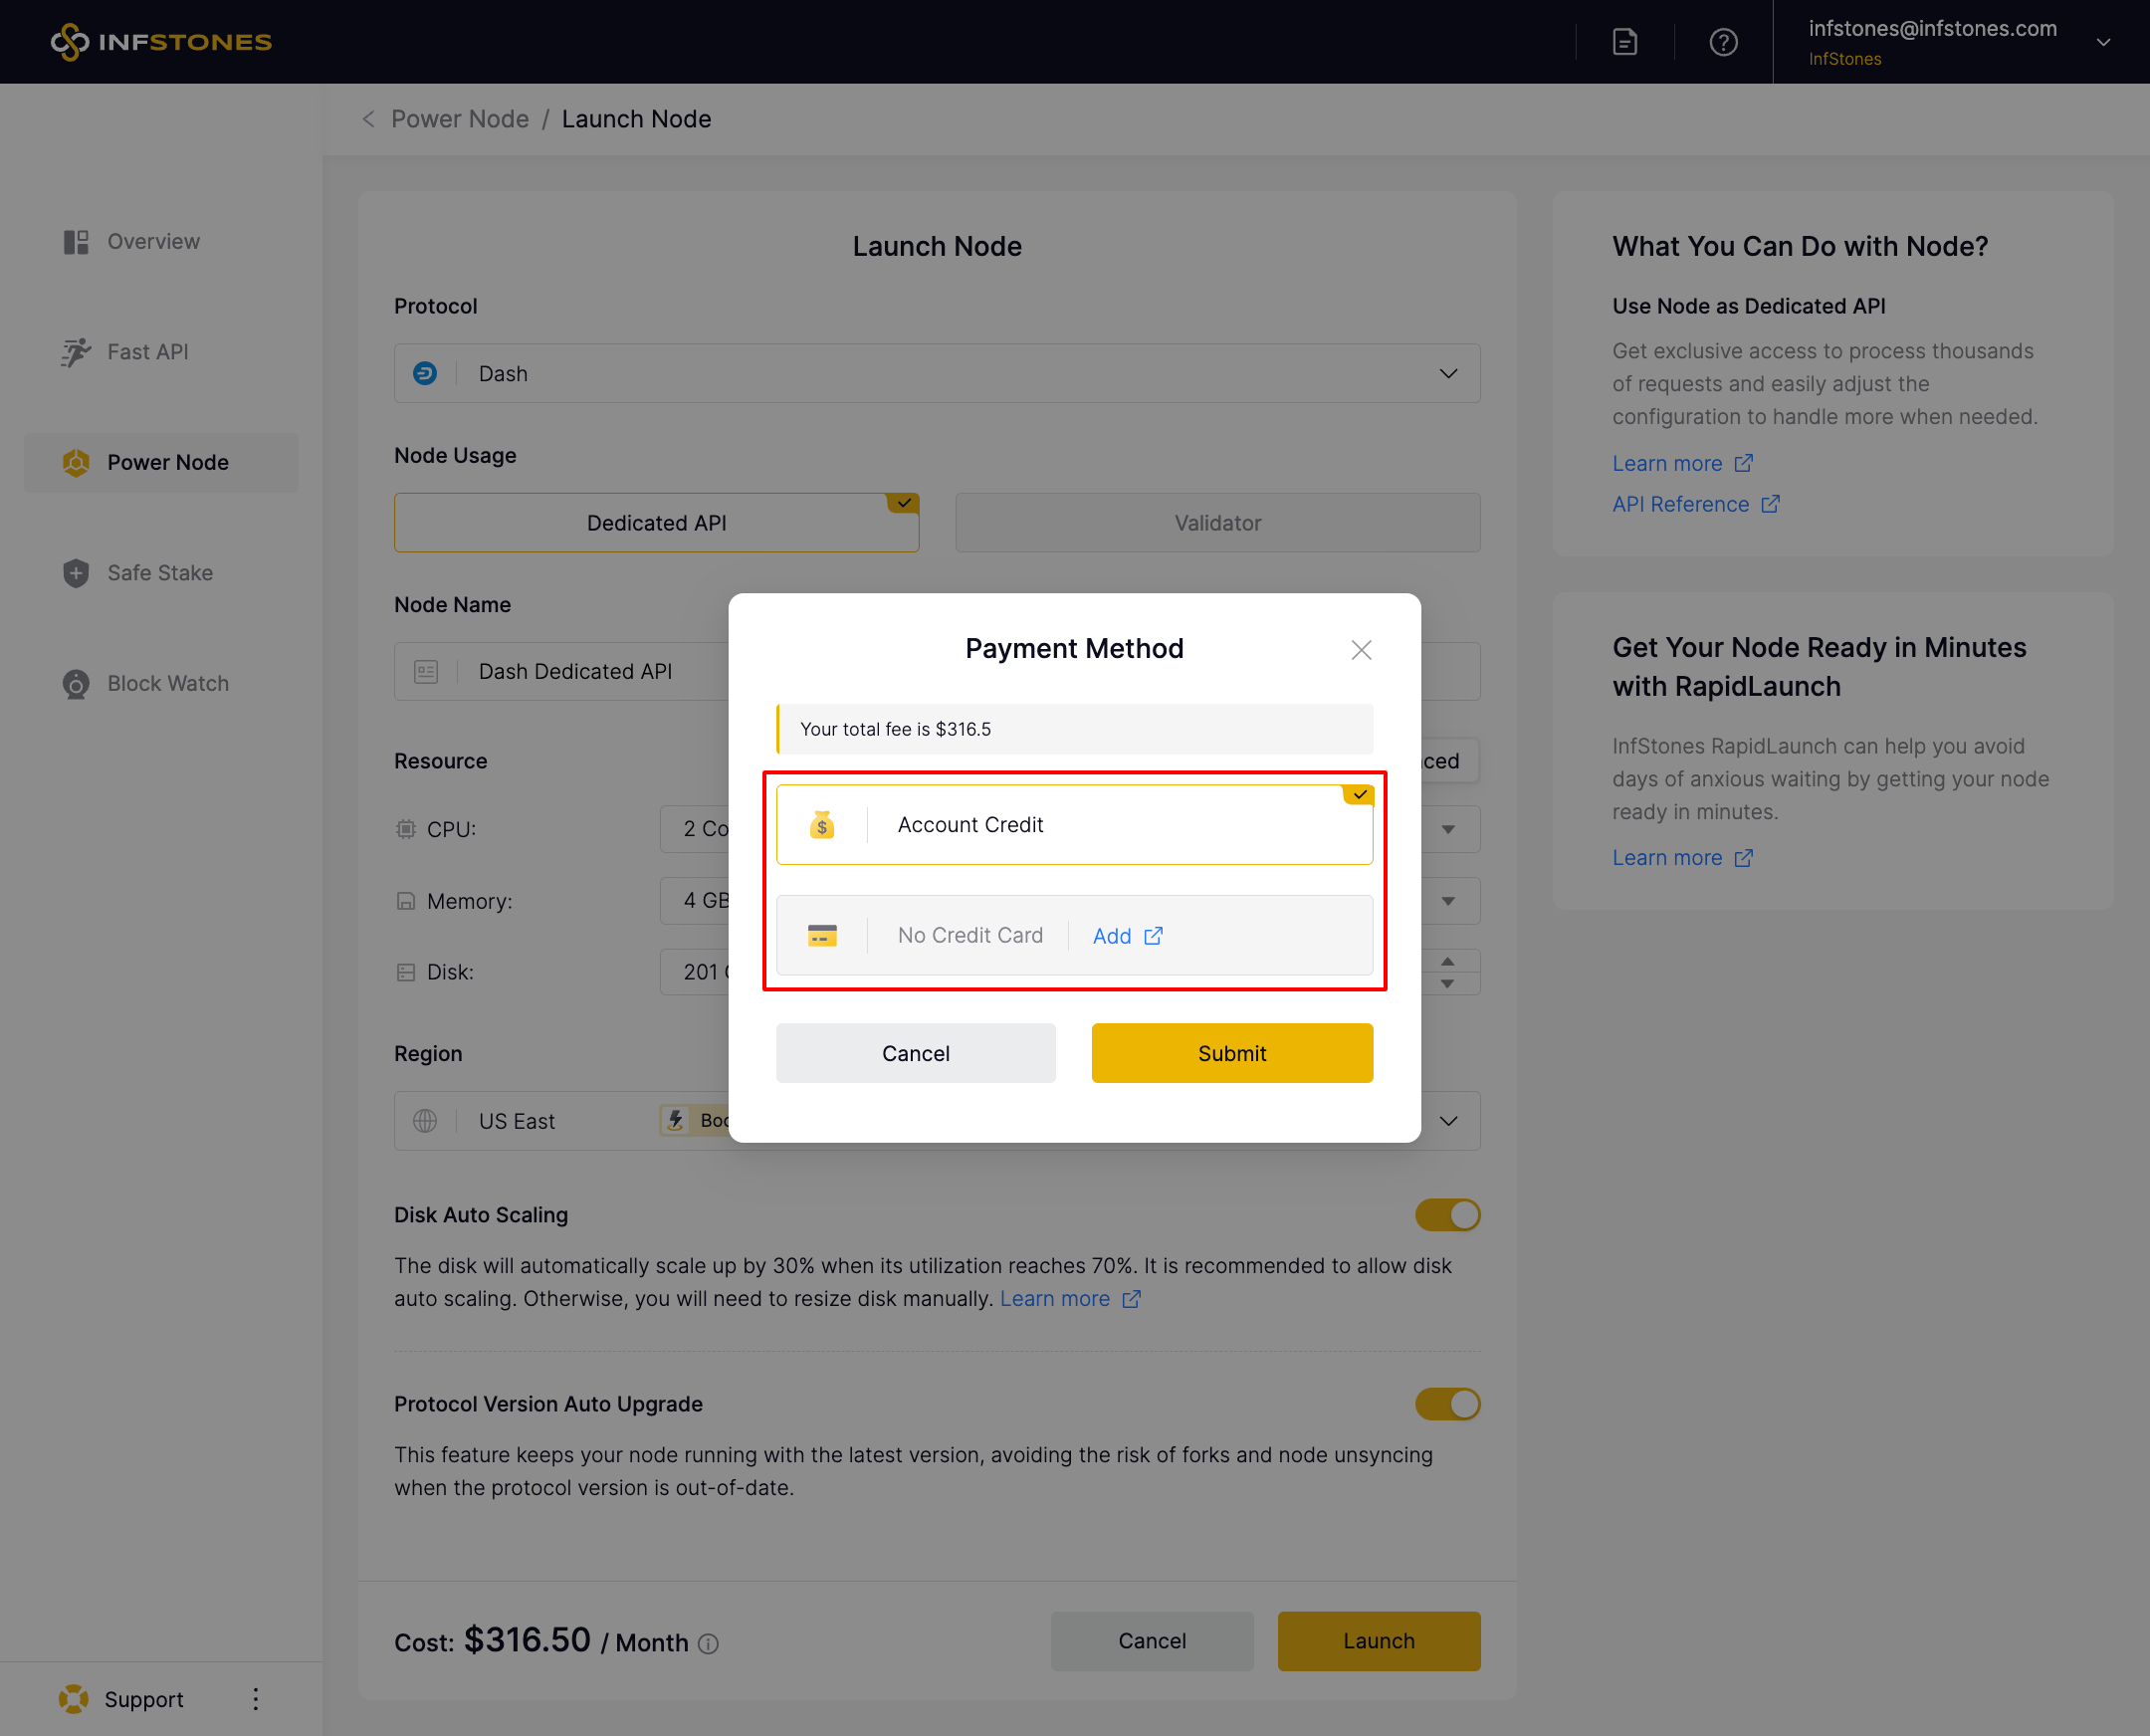
2 Payment
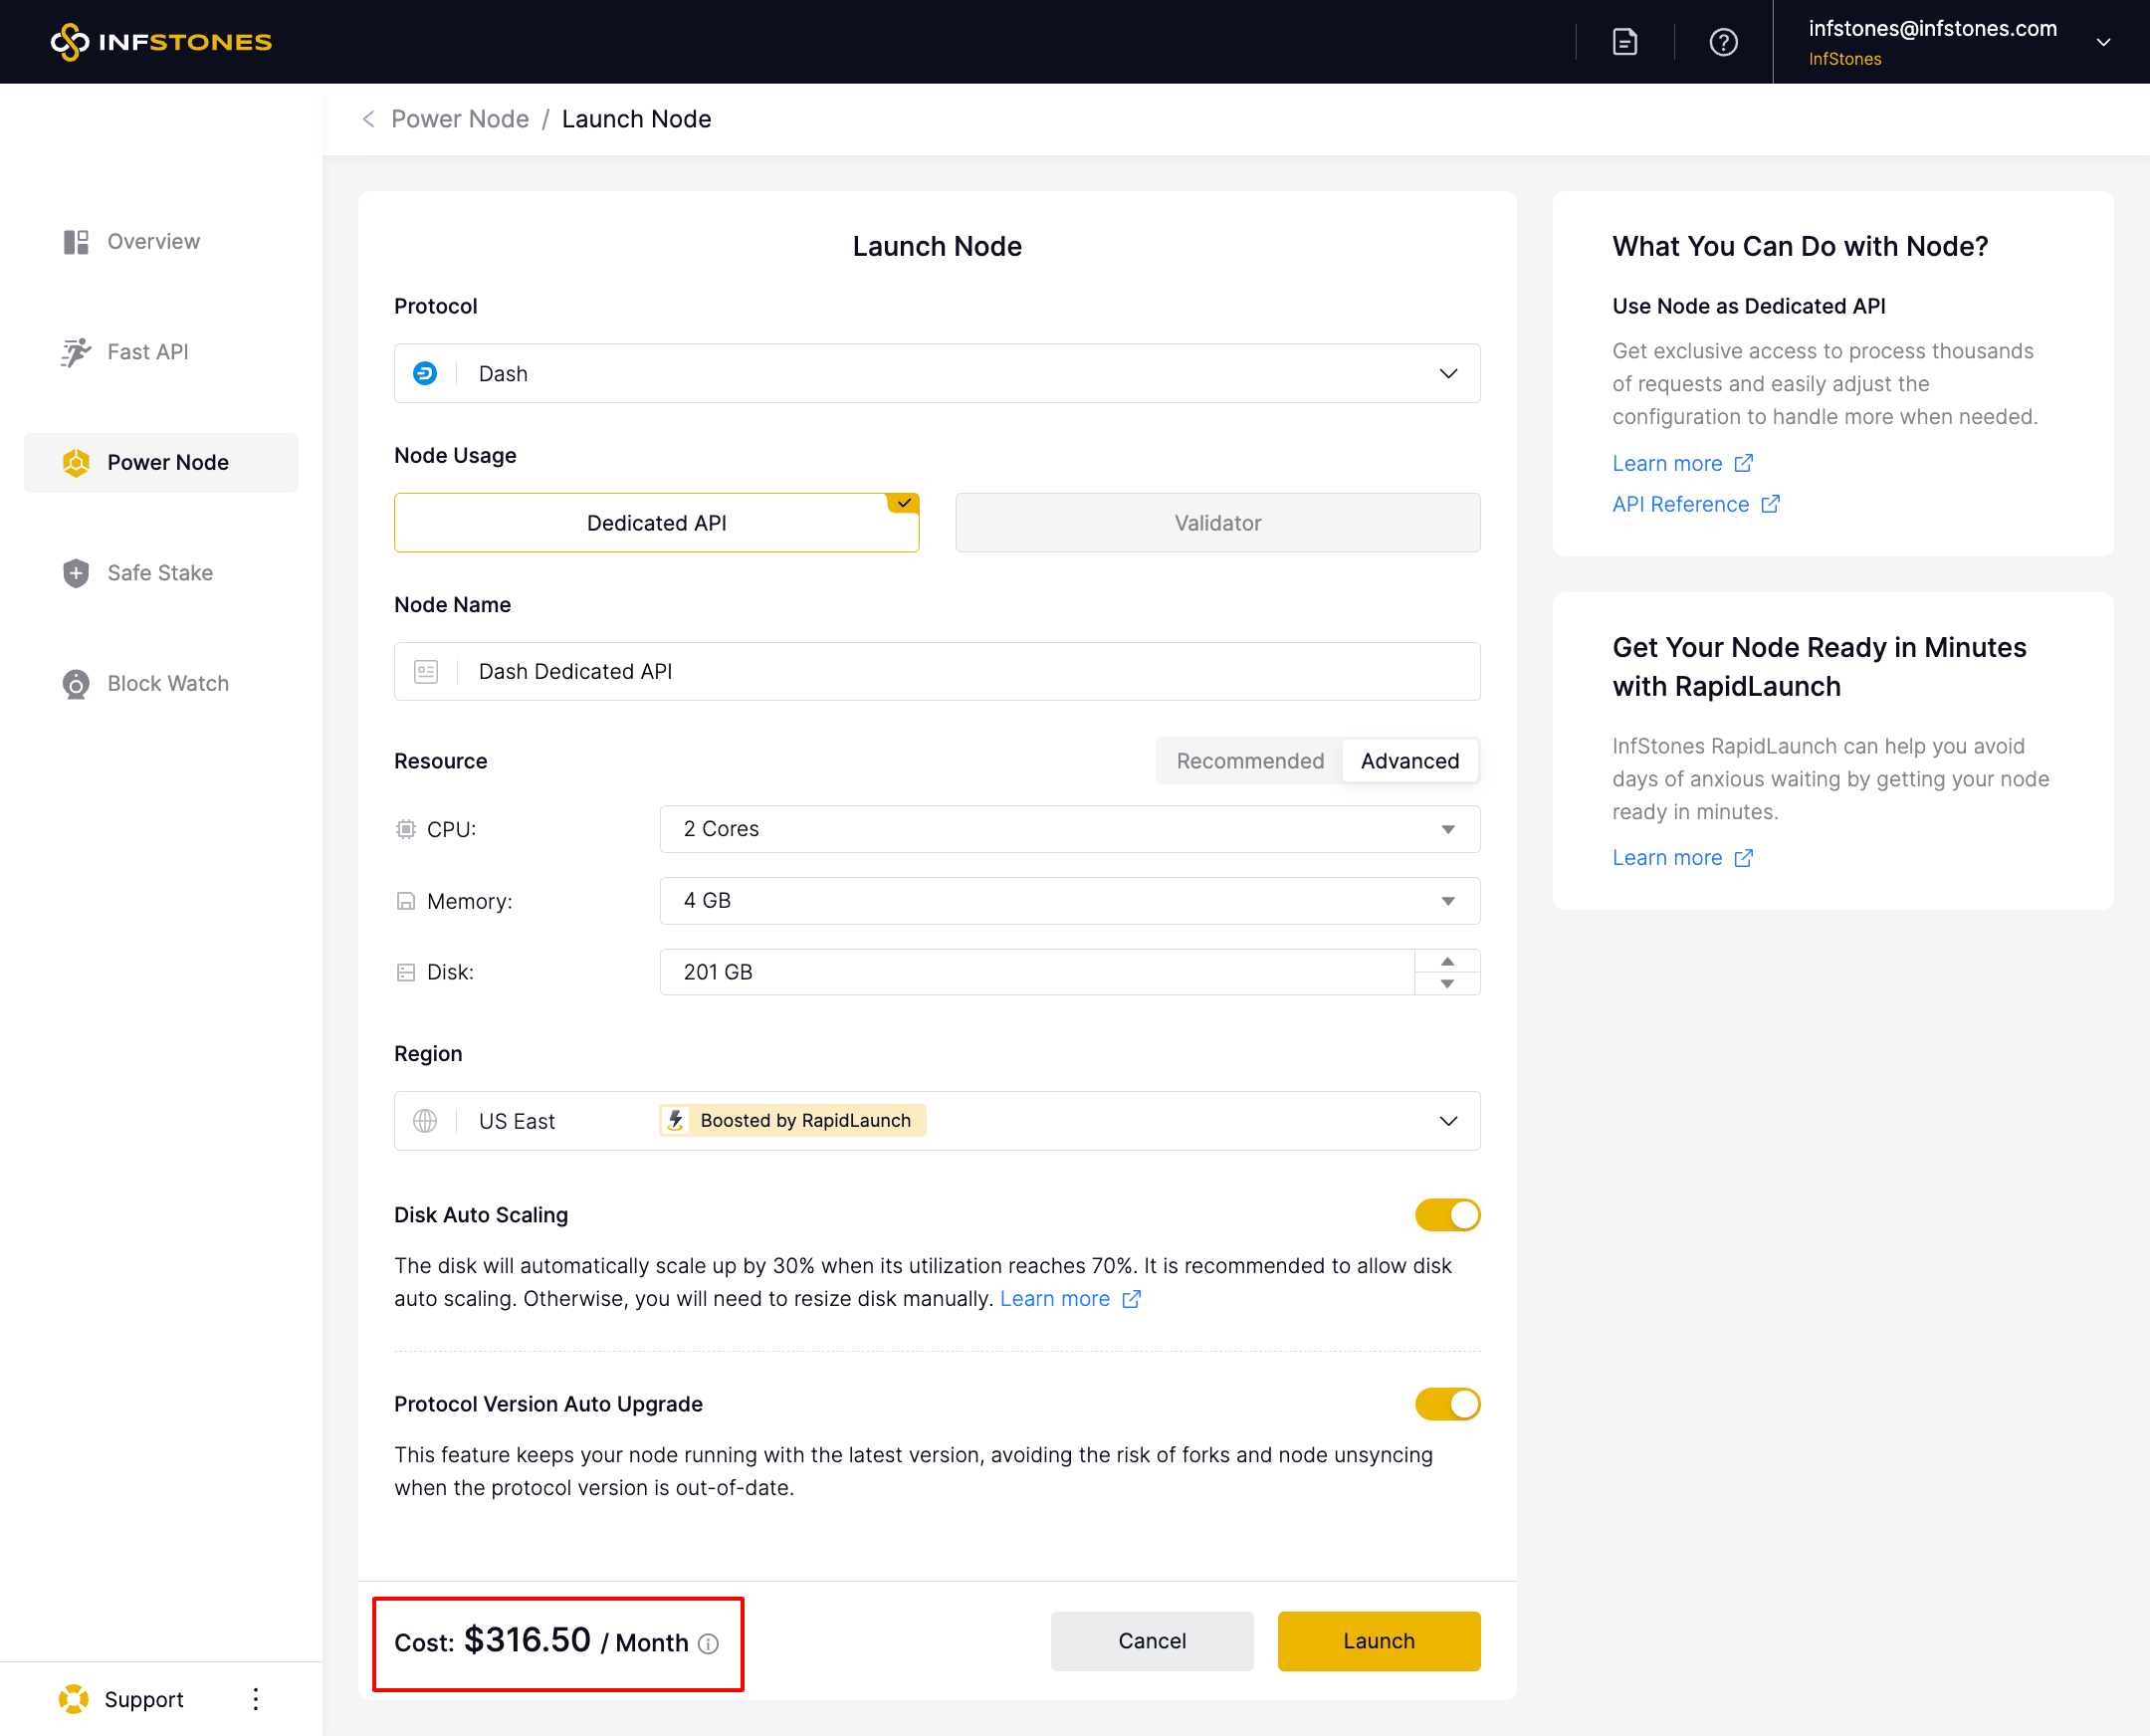
After finishing all the settings, please review the price in the lower left corner of the page. Then click Launch to confirm.
Choose your payment method and click Submit to launch the node.
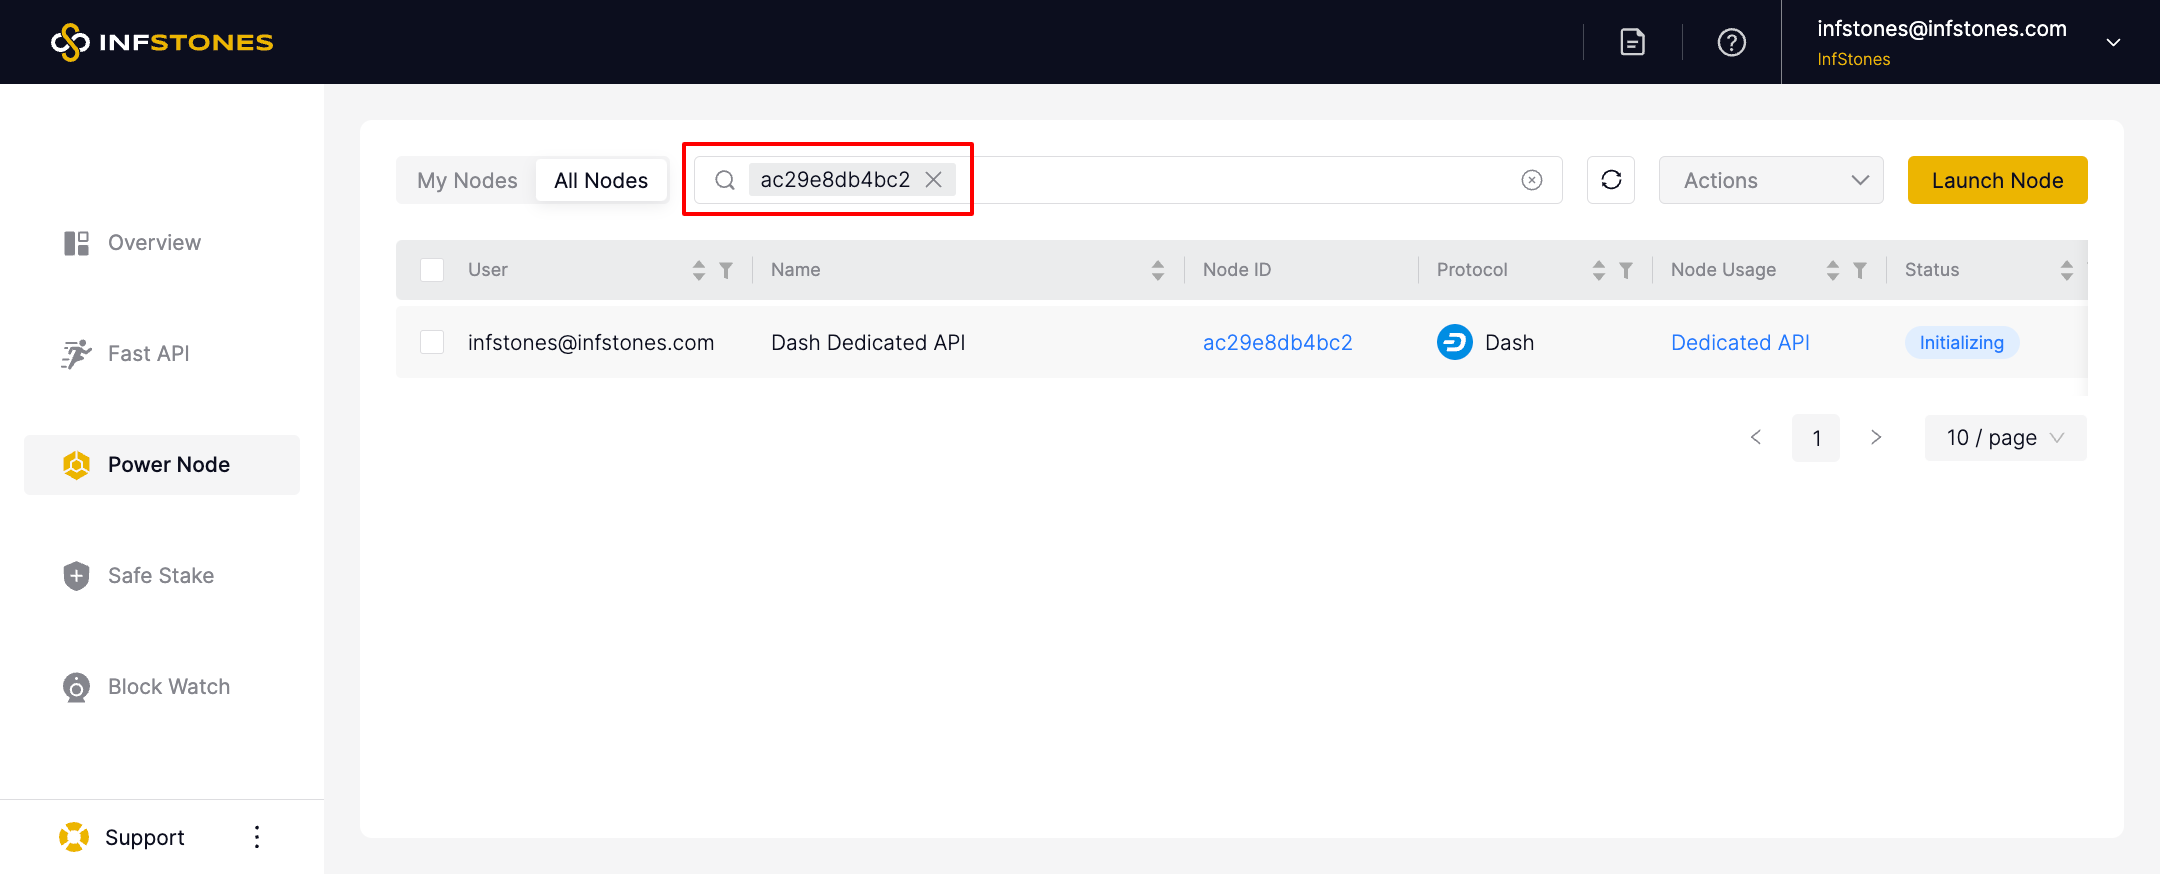
3 Check Launched Node
After the node has been launched successfully, click Confirm on the pop-up window, and you will be redirected to the new node on the Power Node page.
Updated 3 months ago